
Step-by-Step Guide to Garage Door Installation in Spring


Introduction to Garage Door Installation
Installing a garage door might seem like a daunting task, but with the right tools and guidance, you can achieve this home improvement project with confidence. In this step-by-step guide, we will walk you through the essential stages of garage door installation, ensuring a smooth and efficient process.

Gathering Your Tools and Materials
Before you begin, make sure you have all necessary tools and materials at hand. You will need a tape measure, level, hammer, power drill, wrenches, and safety glasses. Additionally, ensure you have the garage door kit, which includes panels, tracks, springs, brackets, and all necessary hardware.
Preparation
Start by clearing out your garage to create a safe workspace. Measure the garage opening accurately to ensure your new door will fit perfectly. Check the alignment of the garage floor and wall. If there are any irregularities, address them before proceeding with the installation.

Installing the Tracks
The first step in the actual installation process is setting up the vertical tracks. Secure them on both sides of the garage door opening using the brackets provided. Ensure that these tracks are level and plumb to guarantee smooth operation later on. This is a crucial step, as misaligned tracks can lead to operational issues.
Assembling the Panels
Next, assemble the door panels starting from the bottom. Most garage doors are sectional, meaning they are composed of multiple panels. Attach each panel to the tracks and secure them with hinges. Make sure to follow the manufacturer's instructions for proper alignment and assembly.
Setting Up the Springs
One of the most critical components of garage door installation is setting up the springs. Springs are responsible for balancing the door’s weight and ensuring smooth operation. Install either torsion or extension springs based on your garage door type. Exercise extreme caution during this step to prevent injury.
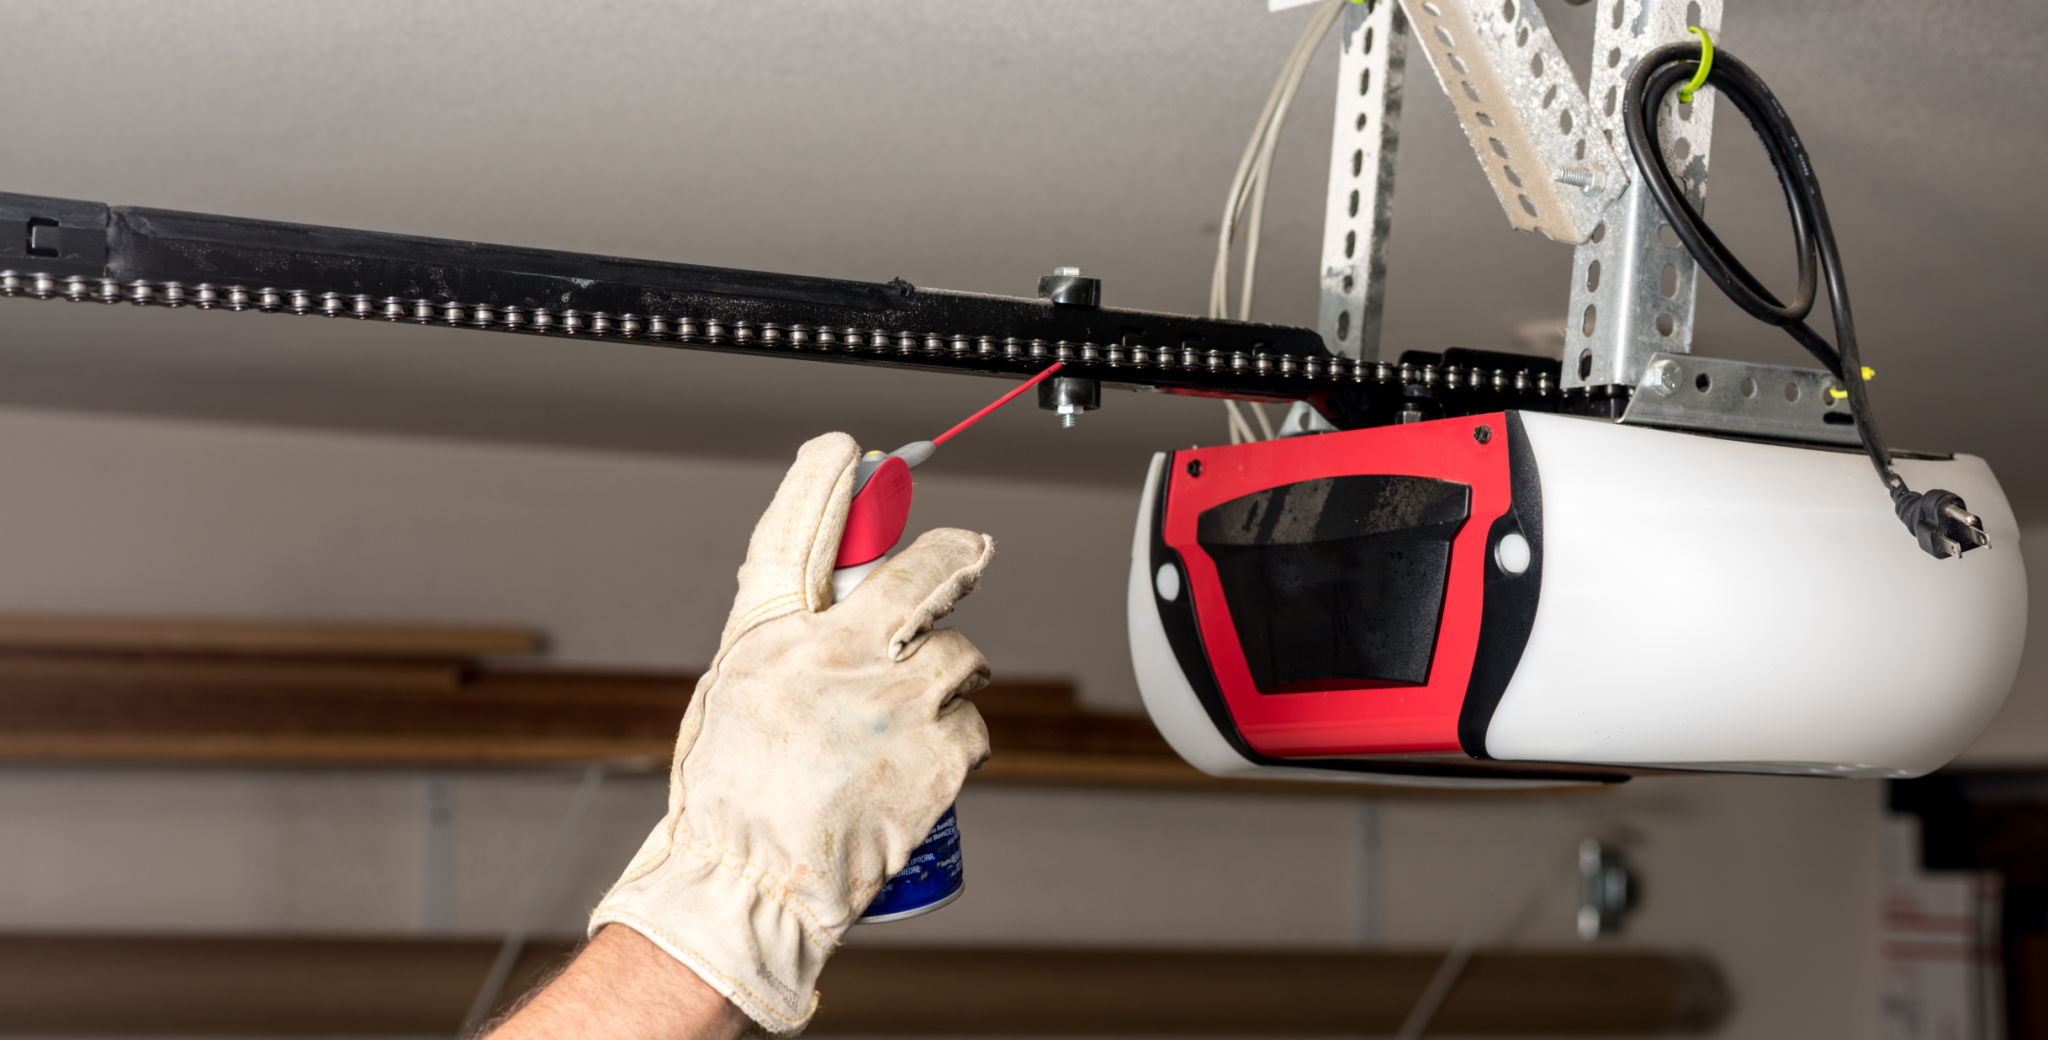
Installing the Opener
If your garage door is equipped with an automatic opener, install it after setting up the springs. Follow the manufacturer's instructions carefully. Attach the opener to the ceiling and connect it to the door using a rail and trolley system. Test its operation to ensure everything functions smoothly.
Testing and Final Adjustments
Once everything is installed, it’s time to test your new garage door. Open and close it several times to check for smooth operation and any alignment issues. Make any necessary adjustments to the tracks or springs to ensure optimal performance.
Conclusion
Installing a garage door is a rewarding project that can enhance both the functionality and aesthetic of your home. By following this step-by-step guide, you can achieve professional results without hiring a contractor. Always remember to prioritize safety and consult professional help if you encounter complex issues.