
The Essential Guide to Garage Door Installation in Spring


Understanding the Basics of Garage Door Installation
Garage door installation is a critical task that demands precision and attention to detail. Whether you are replacing an old door or installing a brand new one, understanding the basic steps involved can save you time and money. Before embarking on this project, it's essential to gather all necessary tools and materials, including the new garage door kit and any additional hardware required.
Most garage doors come with a comprehensive manual that outlines the installation process. However, familiarizing yourself with the general steps beforehand can provide a smoother experience. Generally, the process involves assembling the door panels, installing the tracks, and setting up the opener system.

Choosing the Right Garage Door
Selecting the right garage door is crucial to ensure durability and functionality. Consider factors such as material, design, insulation, and security features. Common materials include steel, wood, and aluminum, each offering distinct advantages. Steel is known for its strength and low maintenance, while wood provides a classic aesthetic appeal.
Insulation is another key consideration, especially if your garage is attached to your home. Insulated doors help maintain energy efficiency by keeping the indoor temperature stable. Additionally, consider security features such as robust locking mechanisms and smartphone connectivity for added peace of mind.
Preparing for Installation
Before beginning the installation process, it's important to measure the garage opening accurately. This ensures that the door fits perfectly without any gaps. Remove any existing door components or debris that could hinder the installation process. Ensuring a clear workspace allows for better maneuverability and reduces the risk of accidents.
If you're replacing an old garage door, inspect the existing tracks and hardware for wear and tear. It may be necessary to replace these components if they show signs of damage. Also, check that the ceiling or wall where the opener will be mounted is sturdy enough to support it.

Step-by-Step Installation Process
Once you've prepared your workspace, you can begin assembling the garage door panels according to the manufacturer's instructions. Typically, this involves connecting hinges and rollers to each panel before securing them in place on the tracks. Take your time during this step to ensure all parts are aligned correctly.
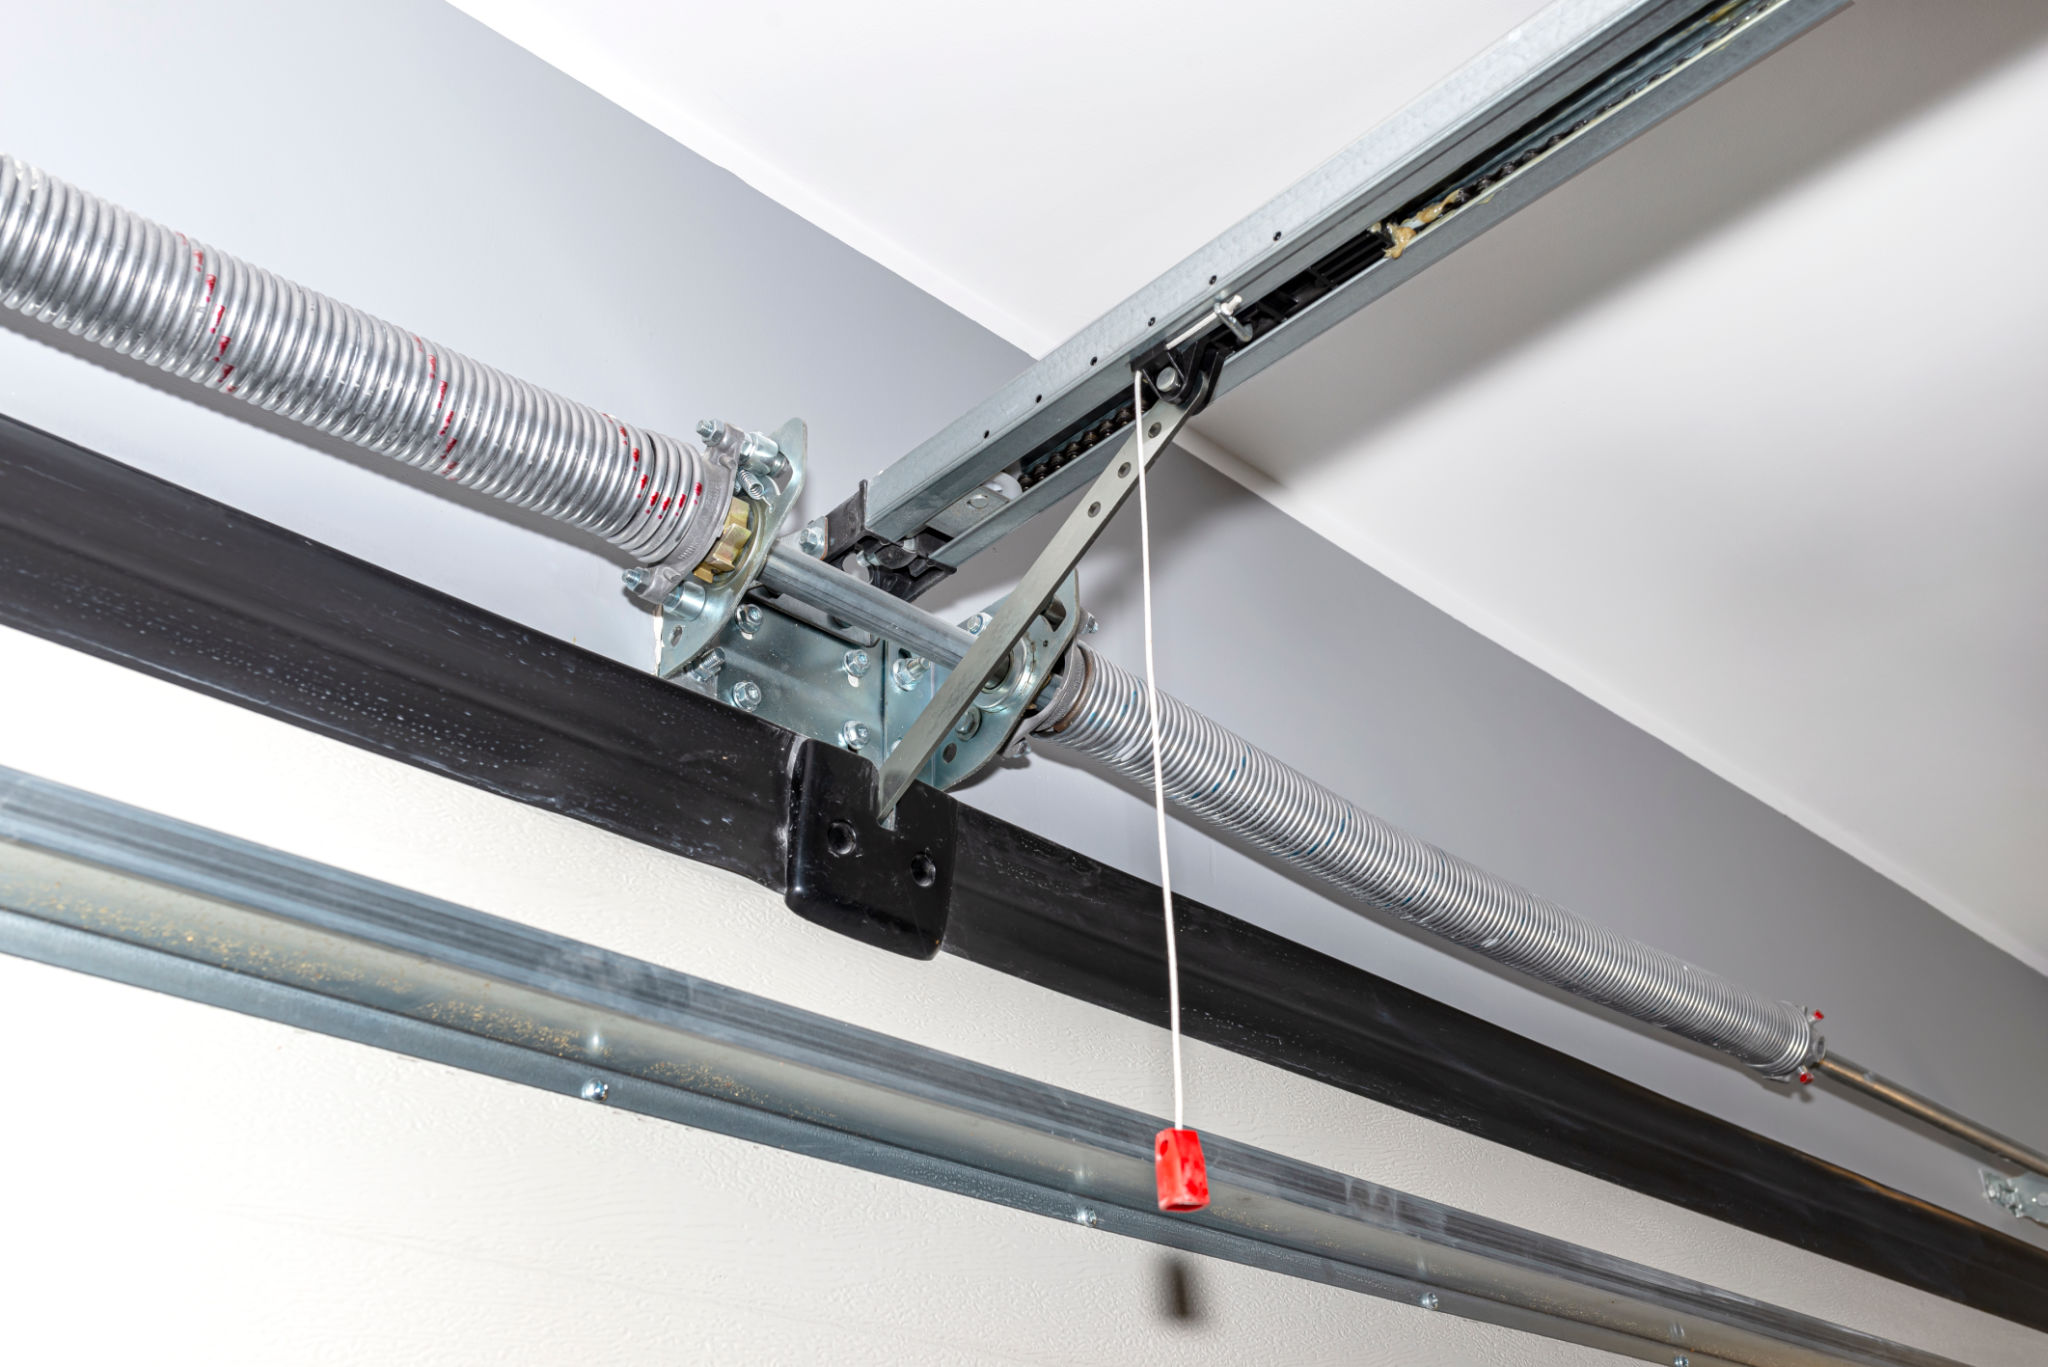
Next, install the tracks on both sides of the garage opening, making sure they are level and secure. Follow this by setting up the torsion spring system or extension springs depending on your garage door model. This step requires caution as springs are under high tension.
Installing the Garage Door Opener
The final step in garage door installation is setting up the opener system. Depending on your preference, choose between chain-driven, belt-driven, or screw-driven openers. Follow the manufacturer's guidelines to attach the opener to the ceiling or wall and connect it to the garage door.
Ensure that all electrical connections are secure and test the opener to confirm it operates smoothly without any obstructions. Adjust settings as needed to ensure the door opens and closes at an appropriate speed.

Testing and Maintenance
After installation, thoroughly test your new garage door to ensure everything is functioning correctly. Check for smooth operation, proper alignment, and effective sealing against weather elements. If adjustments are necessary, make them promptly to avoid long-term issues.
Regular maintenance is essential to prolonging the life of your garage door. Lubricate moving parts periodically, inspect hardware for signs of wear, and clean tracks to prevent debris buildup. By keeping up with maintenance tasks, you can ensure reliable performance for years to come.
